The Good Ol’ Days
“Remember when…” is a common start to conversations we senior members of the ITS staff have when reminiscing about the good old times. A few of us have been around long enough to predate the introduction of computers into the workflow. This entailed large drawing boards with straight edges that moved up and down cables, drawing tools such as plastic triangles, lead holder and pointer, dry eraser cleaning pad, a sweep, and assorted other things such as ellipses guides, French curves, and assorted sizes of Rapidograph ink pens. All this stuff was housed in your art box which was filled with miscellaneous things you bought to help your productivity.
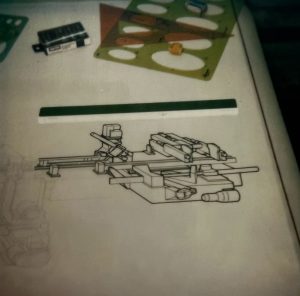 The typical technical illustration production, once you got your assignment, consisted of getting your blueprints (sometimes by the dozen), hanging them across the corked wall using large metal push pins, hand drawing part nestings and cross-sections, laying perspective lines on vellum, doing the drawing using all the tools in your kit, having it checked and marked up for revisions, then sent over to an inker to be traced onto mylar and cleaned up. The illustration was thick and thin drawn using two different tip widths of those temperamental Rapidograph pens (I still remember the sound of clicking as they had to be shaken to keep the ink flowing) on light tables for tracing. Once completed, the inked drawing went to the “stat” room to be photographed using a very large camera to a negative, which then was exposed to photo-sensitive paper.
If there was text involved, an order with all the type specifications for the copy went to the typesetter to be put into a phototypesetting machine (we used Compugraphic at the time) which then came back in galley form on a scroll of white paper. The text galley had to be run through the waxer machine to apply a thin coat of sticky wax on the back. This was lined up precisely onto a cutting board and using the straight edge on your table, then with a very sharp X-acto blade and triangles for vertical cuts, released from the galley. This was aligned onto the illustration again using the straightedge onto a non-photosensitive blue keyline board. Leader lines were hand-applied with different widths of colored tape and arrow heads from Lectraset added from a rubdown press on sheets with a special tool that had a ball on one end and a nylon flat side for applying transfer sheet fill patterns, smoothing, and eliminating bubbles.
Once the compositing was finished it went back to the photo darkroom for the final step of creating a single illustration for delivery to the client. If required, the photographed art had thin transparent plastic sheets of color added using a multiple-layering technique to create shadow effects, or if the budget allowed, airbrushed (a whole other article could be written on this subject). In the Matting Room, the photo was sprayed with a liquid adhesive and affixed to a thick piece of illustration board, a sheet of onion skin paper hinged across the top was added, then a cover of colored mat paper over that to protect the final art piece. The very last step was to add the studio’s sticker to the cover and job information to the backside.
Whew… that was a lot of work!
I don’t know about you, but I do not really miss the “Good Old Days” anymore.
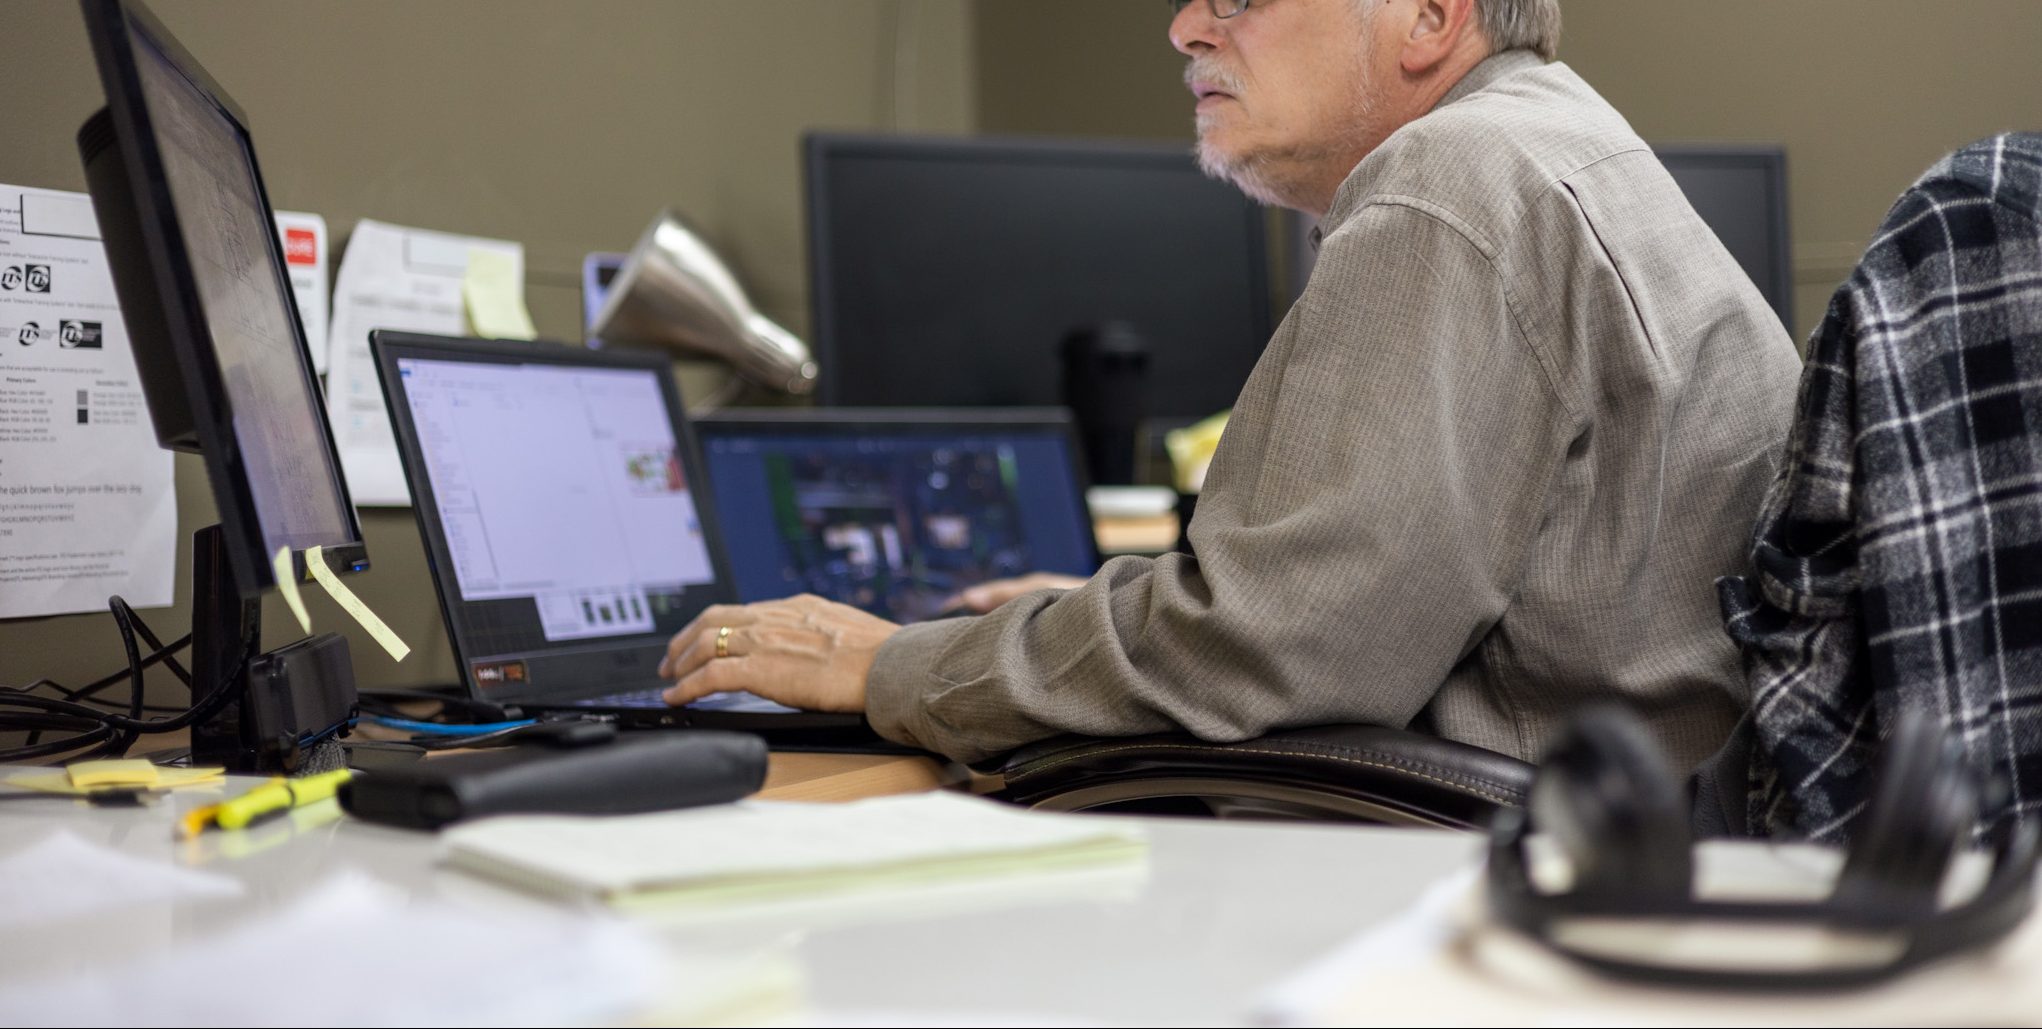
It could take days just to produce one piece of artwork. Luckily things have changed over the years. With the introduction of the computer (I still have my first Apple Macintosh from 1987), this all went away. The labor-intensive production, along with the harmful chemicals, sprays, and paints, were eliminated, giving way to streamlined and more effective methods. We can use the same models that the engineer used to design the machine to create 3D, photo-realistic illustrations which can be viewed and manipulated in virtual reality. Add text and callouts in documentation, and within a few hours have the job done and posted to the client’s web portal or QRL (QuickResponse Library).
For more insight, please read Kevin Bill’s ITS Newsroom article “The Drawings That Helped to Start it All”.
If your company has documentation and training needs, contact our sales team at sales@its-na.com.